Pigs aren’t just adorable farm animals; they also make charming subjects in your drawing endeavors. Whether you’re a novice artist or an experienced illustrator, this step-by-step pig drawing tutorial will help you create a cute pig portrait. So, grab your drawing supplies, and let’s get started how to draw a pig
Table of Contents
- Step 1: Begin with the Pig’s Head
- Step 2: Sketch the Pig’s Snout, Eye, and Ears
- Step 3: Make the Pig’s Body
- Step 4: Draw the Legs and Tail
- Final Result
- Download Pig Coloring Page
- Video Tutorial How to Draw a Pig
Step 1: Begin with the Pig’s Head
Start by drawing a large circle shape near the top center of your paper. This circle will serve as the pig’s head. Remember, pigs come in various sizes, so you can adjust the size accordingly.

Step 2: Sketch the Pig’s Snout, Eye, and Ears
Inside the oval, draw two small oval for the eyes and a big oval for the pig’s nose on the snout. Then, give your pig a cheerful expression by adding a simple smiling mouth. Pigs are known for their friendly.


Above the head, on both sides. Draw two ears shaped like in the example below

Step 3: Make the Pig’s Body
From the bottom of the head, draw a line that forms the body. Make sure it is round and plump, as pigs are known for their fat bodies.

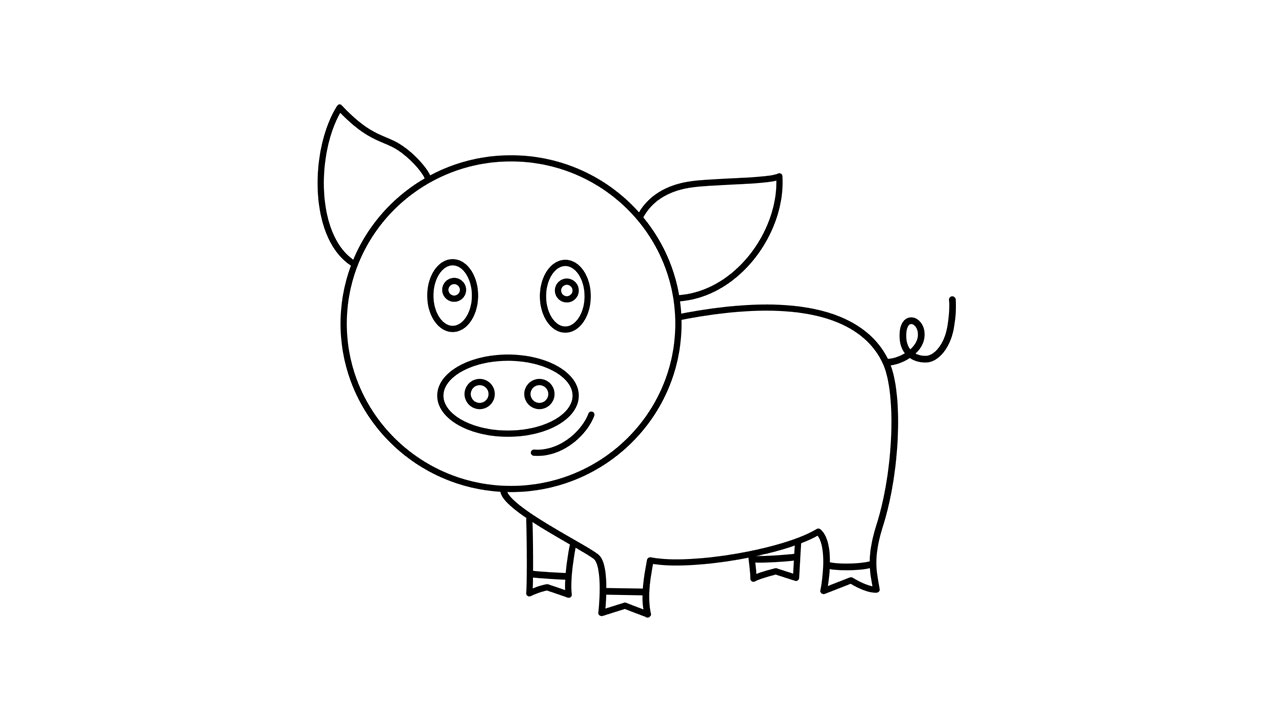
Step 4: Draw the Legs and Tail
Sketch four short, stubby legs beneath the body. Pigs have relatively thick legs, so keep them short and stout. Don’t forget to add a curly tail at the back of your pig.


Final Result

Drawing a pig can be a delightful and rewarding artistic experience. With this step-by-step pig drawing tutorial, you’ve learned how to capture the endearing qualities of these farm animals on paper. Whether you’re sketching for fun or honing your artistic skills, take your time, enjoy the process, and bring your piggy creation to life. Happy drawing!


